
Vanilla Gaiter: Free Knitting Pattern(UPDATED)
Updated: Feb 2, 2021
I've always been a big fan of cowls, and there's an abundance of patterns available all over the Internet. But what about neck gaiters? Seems like they are the unloved cousin. I was looking for a simple pattern to make for my hubby last year and they were limited in style and hard to find. They're not complicated, but it is still nice to have a basic size and stitch count to work off of, and here it is!


Vanilla Gaiter is currently written for any weight of yarn you want, even using any needles you want. You will have to knit a gauge swatch to determine the amount of stitches to cast on. If you are lucky knitter who knits with a standard tension(or you don't mind your project being a little tight or a little loose, depending on which way your tension is off), you can also see on the right side of the chart that I have the usual needle sizes and yarn weights listed that work with each stitch count.
(I'm not that lucky, since I tend to knit VERY loosely and have to always go down two or three needle sizes to match others' gauges.)
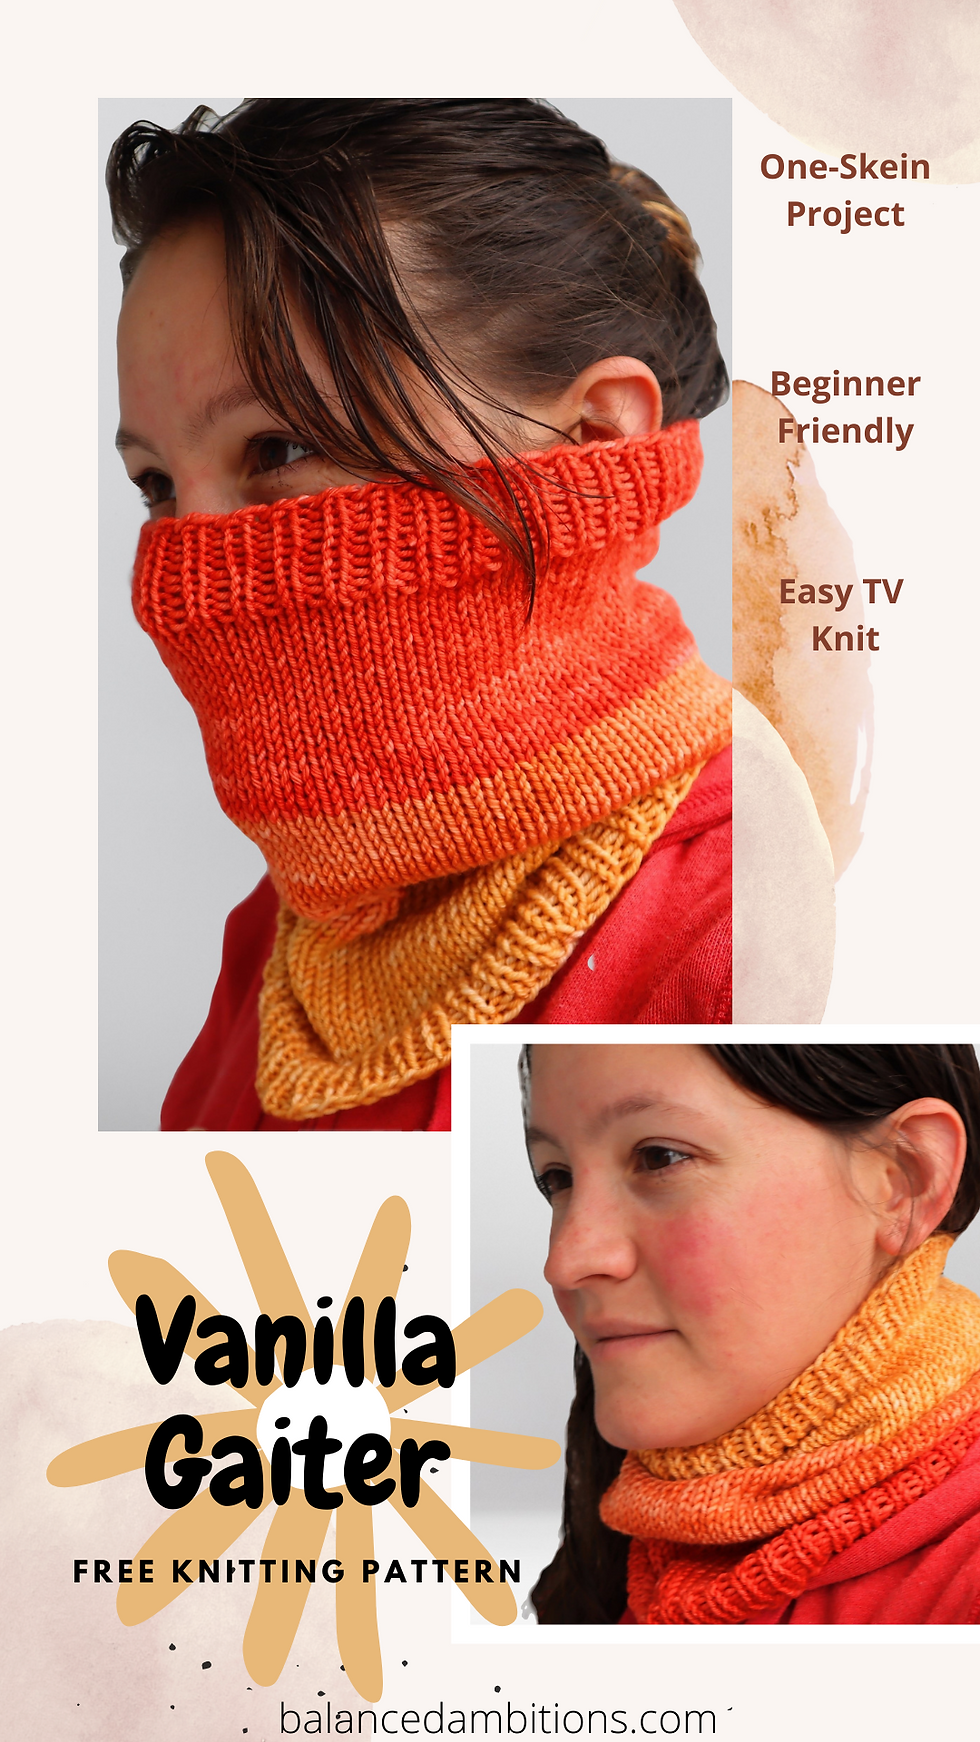
Gaiters are basically a subset of cowls because the basic shape and construction are the same but the portions are limited to being narrow and tight-fitting while also being long enough to cover you nose, mouth, and neck all at once. It should be snug enough to not fall down when worn over your face.
By the way, they are suuuuper easy. Beginners who can knit, purl, and join in the round can do it.
It's a great one-skein project and is a lovely way to show off a pretty skein of yarn.
In the sample, I used my own hand-dyed Fading Orange Bouncy Aran, one skein of soft merino, and I love it!
What follows are the basic instructions for the gaiter:
All you need to do to change yarns or size is to knit a gauge swatch with whatever needle and yarn you want to use, measure how many stitches per inch, and then cast on the appropriate number of stitches according to the chart.
You will cast on in a needle one size smaller than the needle used for the body.

Finished Dimensions:
Depends on size desired. Width is listed on the chart above; length is determined by your preference.
Materials:
- Approximately 1 skein of any yarn you want!
-2 circular needles with 16" cables; 1 needle in the size you used to determine your gauge, and 1 needle one size smaller than the first needle(Can also use longer cables if using the Magic Loop Method, or use DPNs if you prefer. You will still need it in two sizes.)
-Tapestry needle
-Stitch marker
Gauge:
Determined by the needles and yarn you pick
Abbreviations:
K - knit
P - purl
PM - place marker
RM - remove marker
Instructions:
Using smaller needle, cast on the appropriate amount of stitches for the yarn you are using and the size you want to make
Join in the round, PM to denote beginning of the round
Row 1: (k1, p1) repeat across
Work Row 1 until work measures 1.5 inches
Switching to larger needle,
Row 2: k across
*Repeat Row 2 until work measures about 10 inches from the cast-on edge
Switching back to smaller needle,
Rows 3: (k1, p1) repeat across, RM
Work Row 3 for an additional 1.5 inches
Cast off loosely to make sure it will stretch properly but not flare out and be baggy at the edge.
Finishing:
Weave in ends. Block if desired.

The pattern is easily adapted to be longer or shorter as you desire, simply increase or decrease the middle section as needed.
Don't need this pattern now? Pin it for later!
For more inspiration and fun, follow me on Pinterest and Instagram @balancedambitions!
I'd love to see your versions! Tag me on Instagram @balancedambitions or add #vanillagaiter to your projects so I can check them out!
Happy knitting. <3


Comments